When I first got started as a blogger/influencer, I quickly realized how important flatlays are to a brand. They’re essentially the bread and butter of any social media content strategy. I guarantee that if you visited your favorite brand/influencer on Instagram right now, you’d see a flatlay. They’re everyehwere!
That is why I dedicated the last year to studying and practicing the art of flatlays. I’m now at a place where I want to share the knowledge that I’ve picked up with my fellow bloggers/influencers/brands that may be struggling. I want to help us all slay the flatlay together!
In this kick-off post, I share five tips that will help you improve your flatlays, right away! Enjoy.
Lighting
When it comes to flatlays, I cannot stress enough how important lighting is to your photo. If you do not have enough light for your flatlay, your photos can look dark, out-of-focus and/or grainy. Inversely, if there is too much light, then quite frankly my dear, you’ll have a hot, over-exposed, mess on your hands. Hot mess, I say!
The trick to capturing beautiful, properly exposed flatlays, is to use natural lighting whenever it’s available. It’s bright. It’s everywhere and the best thing about it is, it’s 100% free! I’ll say that again for the folks in the back. It’s 100% free! Oh, yea. We likes free!
If you have big windows in your home that let in a lot of light, it’s best to set up shop nearby. If you’re like me and you don’t get a LICK of light in your home, pack things up and move outside. The great thing about shooting outside (besides all the warmth!) is that you can get beautiful shadowing that will help add a bit of dimension to your flatlays. This is especially handy for product photography!
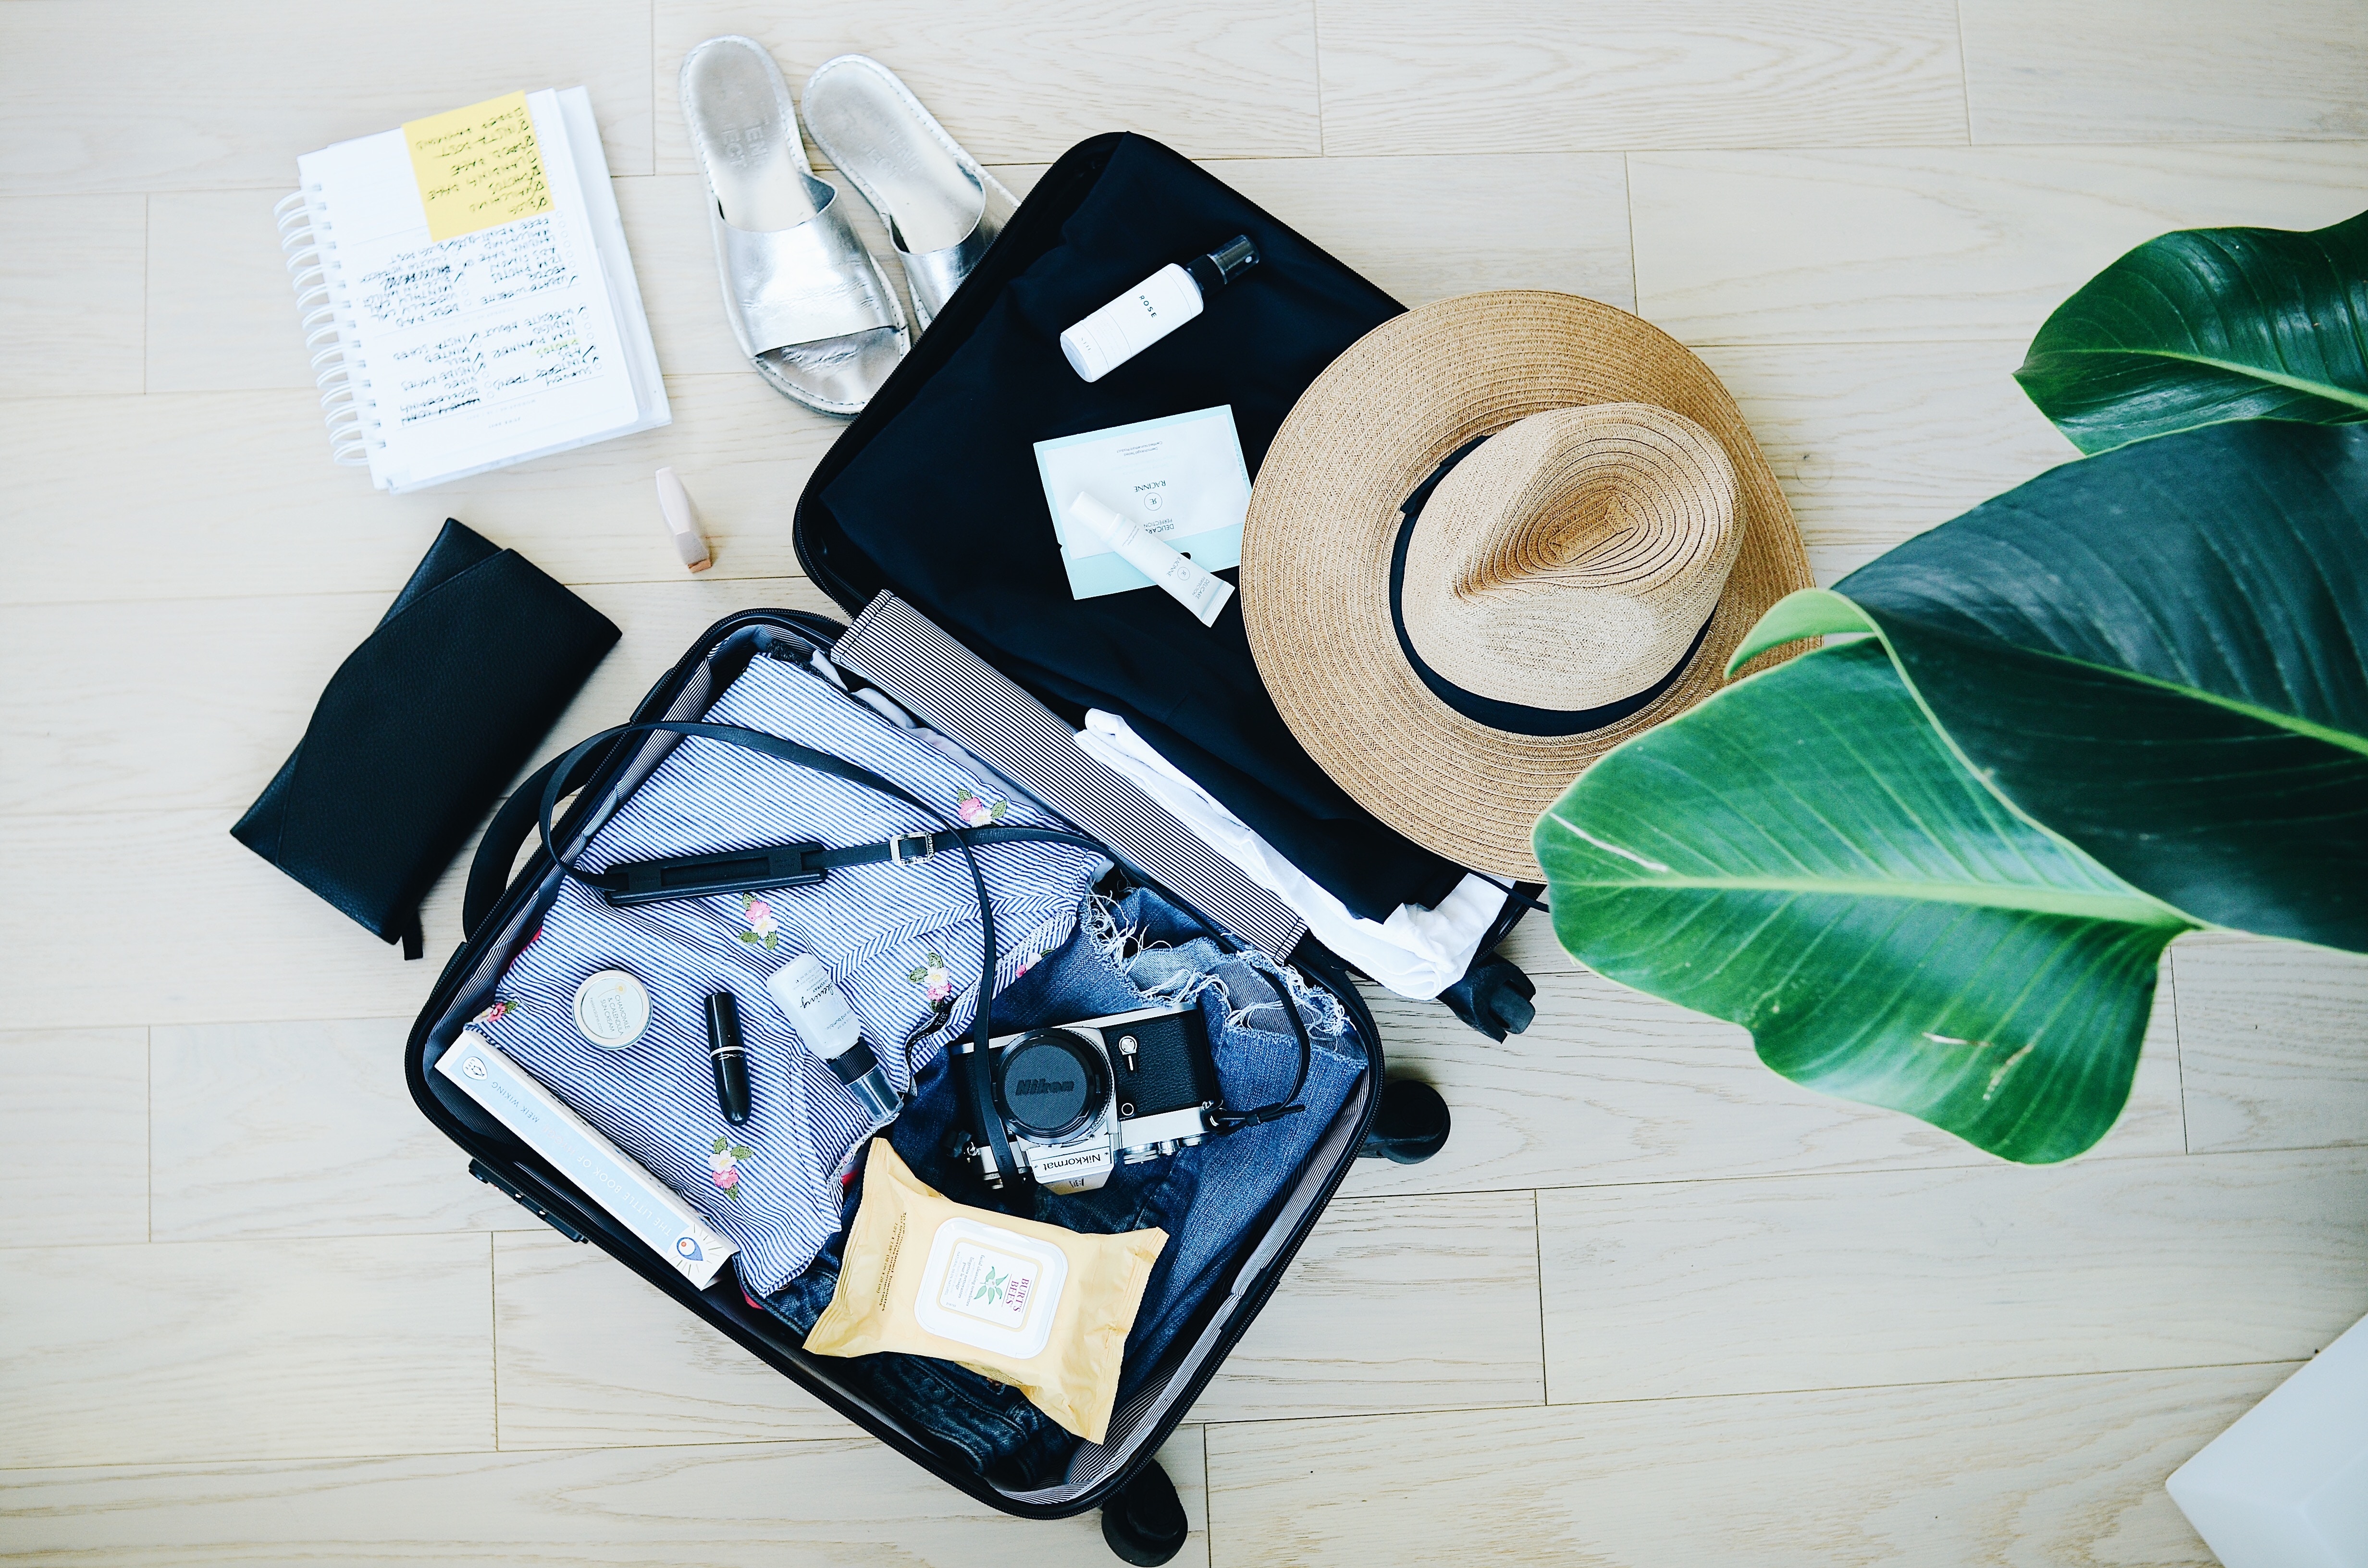
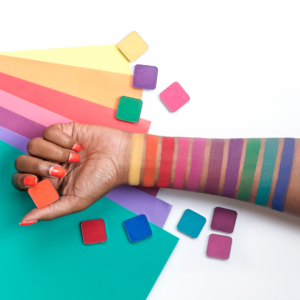
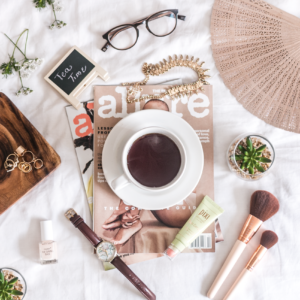
Props
Let’s make a long story short! If you want to create amazing flatlays, you’re going to need to prop it like it’s hot! Props are great for adding a little jazz and pizazz to a photo. Some examples of props include silverware, clothing, jewelry, makeup, shoes, etc. Pretty much, anything can be used as a prop. Some of my favorite places to purchase props are: Target, Dollar Store, Urban Outfitters, Ban.do, Sugar Paper and Cocuspocus (cutest name, right?!).
The most important thing to remember is that you should use props sparingly (unless you’re going for a more cluttered look) and in a way that makes sense for the theme of your flatlay.
Wait. Theme? What are you talking about Onye?
Theme
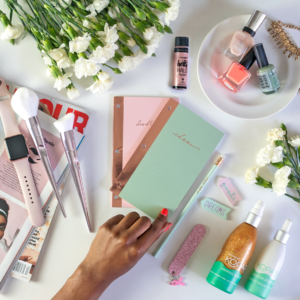
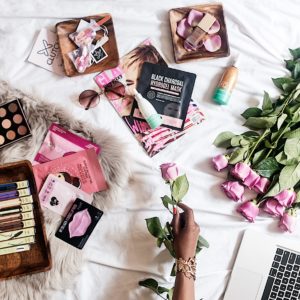
Having a theme is essential to any good flatlay. Not only does it makes it easier to decide which props to use in your flatlay, it also helps make the flatlay look cohesive. For example, if you’re going with a pink theme, you’ll want to grab props that are pink in color (preferably a similar shade of pink). If you’re going with an “in bed” theme, you’ll want to use props that make the most sense on the bed. Maybe it’s breakfast food (I can’t be the only barbarian that eats in their bed!), makeup, clothes or a combination of all three.

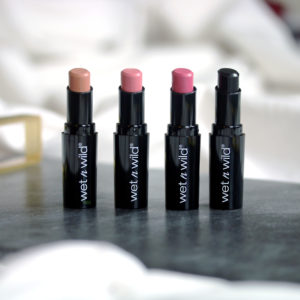
Photo Styling
When I first started doing flatlays, I didn’t know the first thing about photo styling. So, I just didn’t do it. I would LITERALLY just stick one item on a white backdrop and call it a diggy-damn-day! Let me tell you something. Those photos were basic, baby. Basic! *hides face in shame*. That’s not to say that there’s anything wrong with having only one item in a photo. I’m actually a big fan of minimalistic images! When executed right, they can be just as impactful as prop-heavier images.
But I digress…
In order to learn more about photo styling and flatlays in general, I watched a lot of YouTube videos. I searched for inspiration on Pinterest and I did a lot of experimenting.
Here are a few things to keep in mind when styling your flatlay:
- Identify the main object in the flatlay and ensure that it doesn’t get overshadowed by other items.
- Try to stick to no more than 3 main colors in your flatlay (unless your theme is a colorful concoction of sorts).
- Incorporate small “filler” props like confetti, paperclips or makeup in order to help fill in empty space in your flatlay.
- Select a backdrop that does not compete with the props in your flatlay. A multi-patterned, brown carpet may not pair well with super colorful props.
- Get creative with your crops. Don’t be afraid to crop some things out, partially or completely if they’re not necessary to the story of the flatlay.
- Experiment! Experiment! Experiment. Don’t expect to get the best flatlay on your first attempt. Trust me. You’d be setting yourself up for disappointment. You have to play around with it, massage it a bit until you get all of the kinks out of it.
- Keep some inspirational images near by to spark your creativity when you’re in a rut. *Never copy!*
If you’re looking for some inspirational Instagram accounts to follow, here are a few of my favorite flatlay finessers on Instagram: WhatShePictures (dope!), Ardaisy, and Cocobassey are just a few of my faves.
Editing
Although you can share your flatlays straight out of the camera, I strongly recommend doing some post-editing before showcasing your beautiful work. Post-editing allows you to tweak things like white balance.
Some of my favorite editing tools include Photoshop, Lightroom, VSCO, Snapseed, Facetune and Afterlight.
Want More?
Join the PIX Tips Facebook Group to learn more about photography and to grow with other photographers of color. And if there’s a topic you’d like for me to cover next, drop a comment down below!

Sincerely,
Onye The Flatlay Slayer
I think you do very well with flatlays. Im still struggling but hopefully l get better soon
Author
Thank you! You’ll definitely get there. Just takes a little time and practice. Can’t wait to see your growth!
You’ll make a great teacher. I must say product photography is still my favourite type. Just need to perfect my skills